Trash or Treasure - Waste Bin Pull-Outs
- Posted on
- By Handles and More Team
- 0
When I say minor details added to your waste bin system can either make it or break it for your kitchen space. I mean this quite literally, a not well thought out layout for your waste bins can make any family gathering or just time in your kitchen space alone quite uncomfortable.
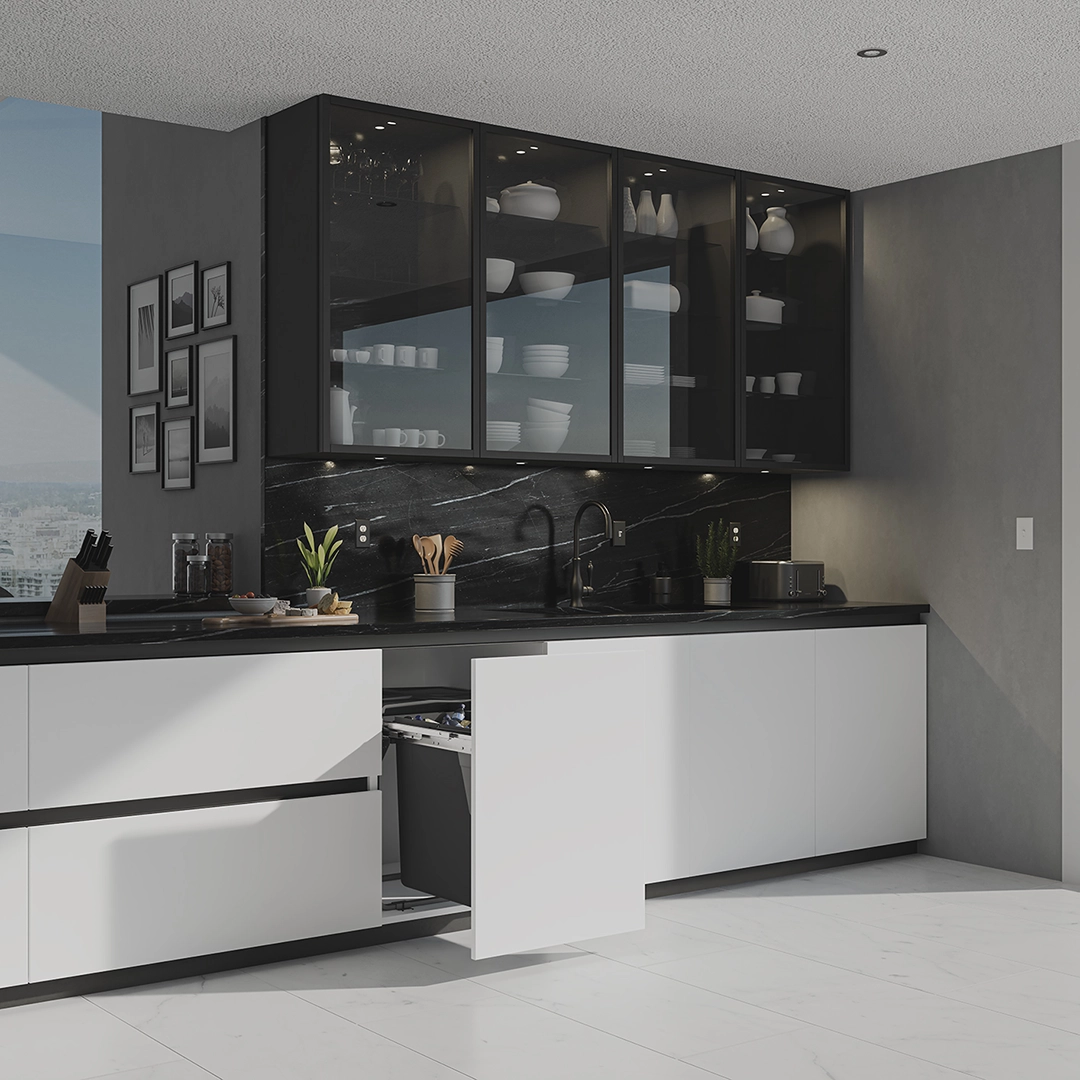
On the other hand, you can have the opposite results, for instance, guests admiring the layout of your waste bin system and the cleanliness that follows. Leading to admiration by your guests and leaving them wondering where-oh-where did you purchase your pull-out bins from.
The game changer you've been waiting for!
And although you may think that this will be a difficult task to take on and that this is a project you can’t possibly tackle by yourself without spending the big bucks and without calling your local handyman to install it. Well let me explain to you, the hardware now available in the market has simplified these systems for an easy DIY project with minimal effort to assemble it; even your teenager can help you put it together in under 30 minutes. Now, let’s get familiarized with these life-saving waste-bin systems available below.
The Hardware
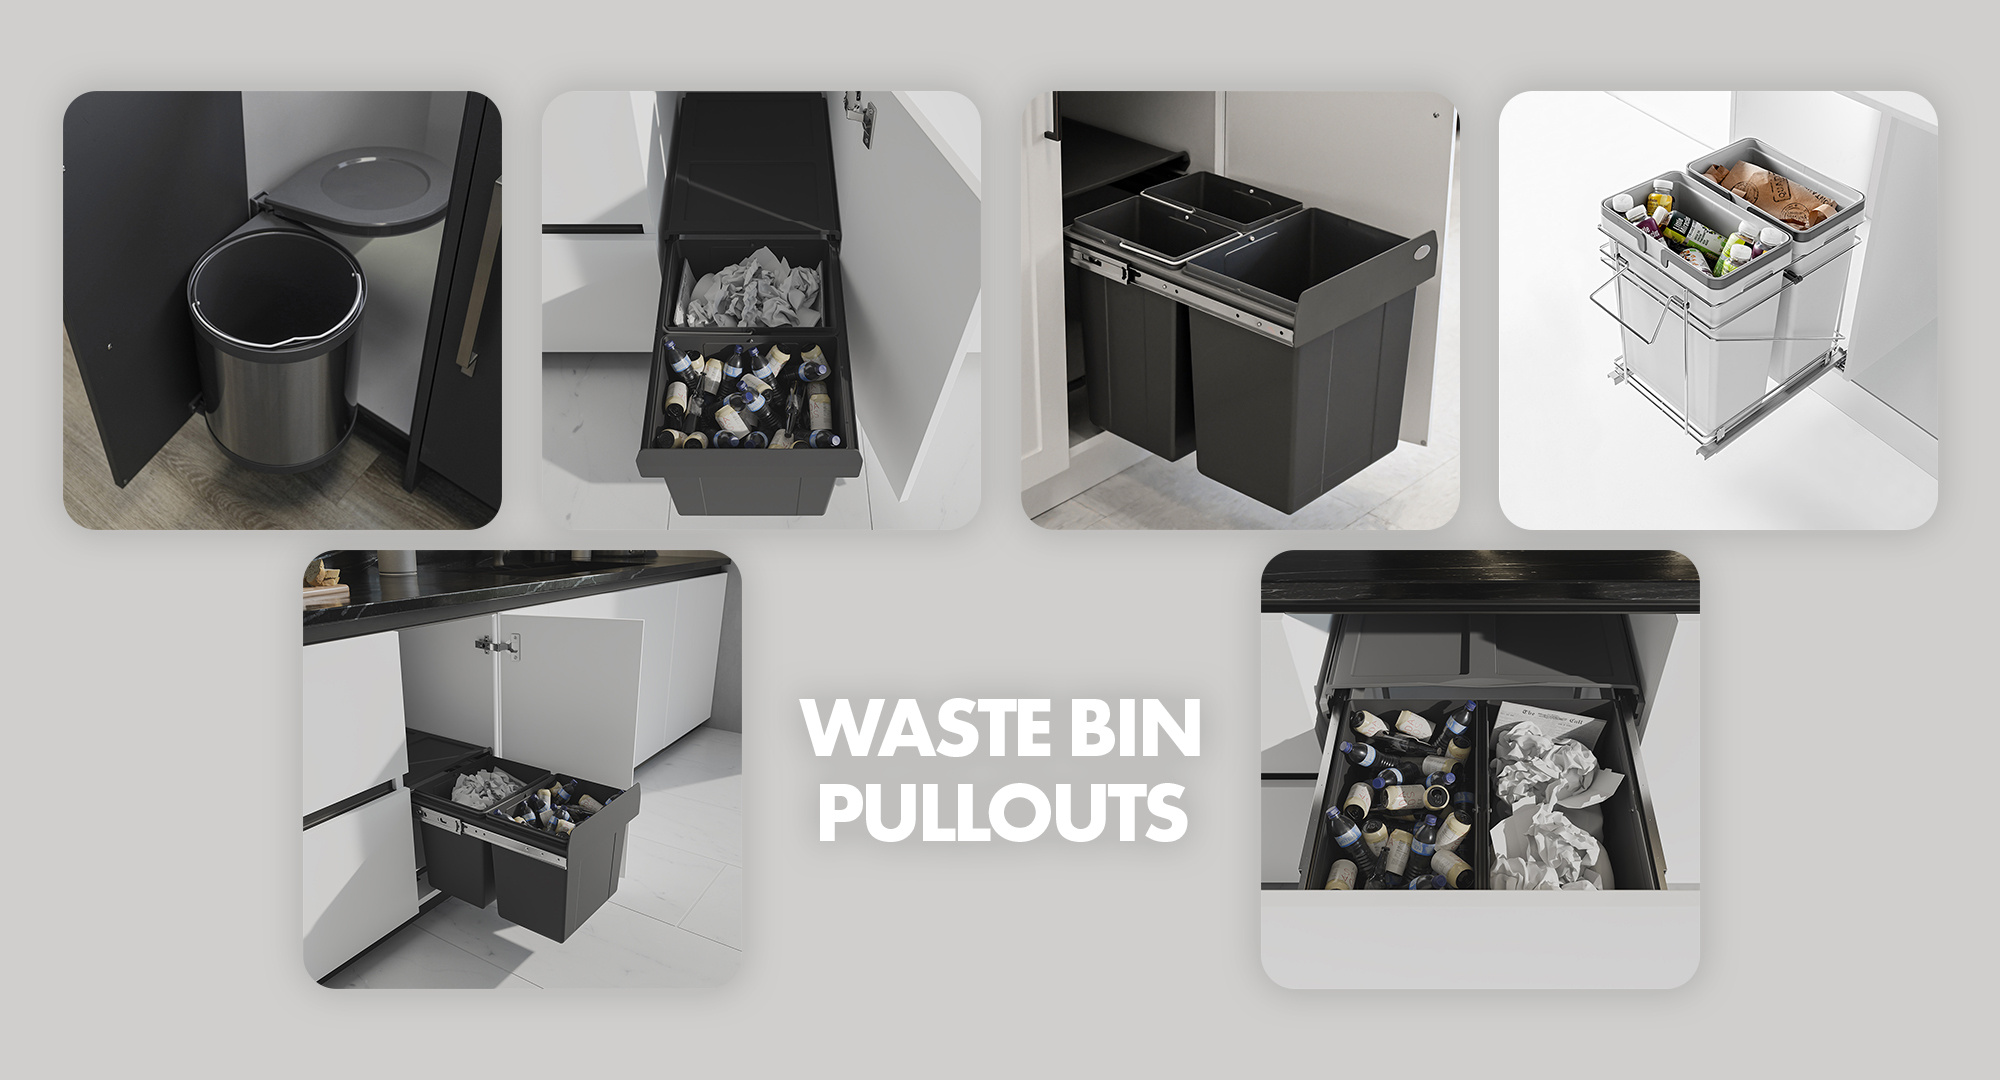
Let’s start with what hardware components you can expect with most waste bin pull-out systems:
- Full-extension slides
- A one or two-bin system with different load capacities
- Integrated plastic cover to avoid pesky orders
- Hardware
- Either a side mount, a bottom mount or a door mounting system; depending on what best suits your cabinet style. This feature is what facilitates the installation process for anyone looking to do it themselves.
The Materials
Now, let’s get familiarized with the bins' most common material makeup. Polypropylene plastic is a BPA-free plastic. Its unique chemical composition allows for a soft and flexible plastic yet tough enough for the bin's load capacities. The polymer's chemistry allows for a high-heat tolerance on your bins allowing you access to wash your bins with hot water without deteriorating its lifespan over time which can be up to 20-30 years. The second material is steel; which, you will find on your full-extension slides which will make this system quite durable for the long-term sliding motions it will face over a long period. Lastly, the Euro-bin collection products are manufactured and made 100% in Italy, with its European design and ingenuity you can feel secure about the quality you are purchasing.
The Mounting Styles
Moving forward, let's talk about how the different mounting hardware works and which mounting type is best for the different cabinet styles. This will help you narrow your focus on what is available to you in comparison to your cabinets making it easier to choose your hardware correctly. When choosing between the side-mount and the bottom-mount this is just a personal preference customized by you. The door mount is specifically designed for your cabinet door to mount and slide out with your bins and unless you already have this custom-made for this style then sticking to a side or bottom mount is ideal for you; however, it is supplied with a pullout handle.
- Side-mount hardware - This will allow for you to install your bin hardware slides onto the side gables of your cabinet box.
- Bottom-mount hardware - Allows you to install your bin hardware slides onto the bottom gables of your cabinet box.
- Door-mount hardware - Allows for you to install your bin hardware directly onto the door of your cabinet, this is an ideal mount for a door that is not mounted onto your cabinet, instead, the door will be installed directly onto your bin hardware and pull-out with your bin. Please see the image below.
The Install
Finally, let's speak about installing the bins system; this may be the most daunting part you may think. However, after I explained how to select your mounting type the installation is quite simple. Every kit will include a technical document and the technical drawings for the system; to help guide you through the process. The installation is an easy 5-minute installation with only 4 screws. This system only requires one person and a drill ideally, however, a screwdriver will do and no more than 30 minutes of your time to install. If you do not have pre-drilled holes on your cabinet then a drill with a ⅛” drilling bit will be great to have. Remember not to drill the full way only drill holes of a max of 13-16 mm deep, in which, you can add tape to your drill bit marking the depth, as a reference, so you know where to stop.
End Game!
With the information shared with you in this blog, you are now ready to update and add a much-needed game-changing solution to your kitchen. Ready to give your kitchen the upgrade that will take you a long way in the years to come? To find out more and where to purchase these amazing bin solutions visit Handles and More for these and many more kitchen solutions.
Comments
Be the first to comment...